
Pinboards, inspiration boards, bulletin boards, they are a simple, fun way of personalizing and organizing an office space or children's room, and they're the perfect list and note catcher for the kitchen.
Megan Morton, Australian stylist and author of the book Home Love: 100 Inspiring Ideas for Creating Beautiful Rooms is here today with a simple DIY Pinboard project.
Meet Megan Morton
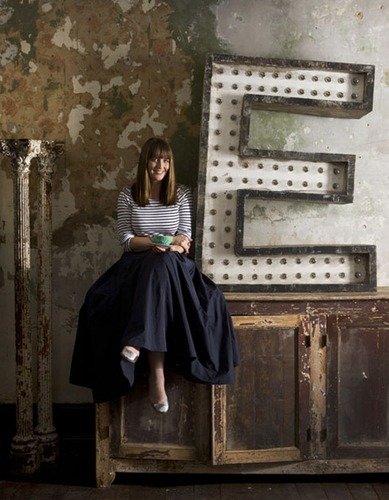
Isn't she adorable? Here's her tutorial for how to make a pinboard.
How to Make a Pinboard
My name is Megan Morton. I am a Sydney-based stylist, but luckily, I get to work the world over. I style incredible homes, so in my down time, I like to have some projects on the go, so I can keep my hand on the joy that is handmade. I'd love you to see my pinboard, so easy, so fun.
Now, onto the task at hand. The best thing about pinboards is that they can be sliced into any space — in the kitchen, behind your door, in the study. Versatile little things!
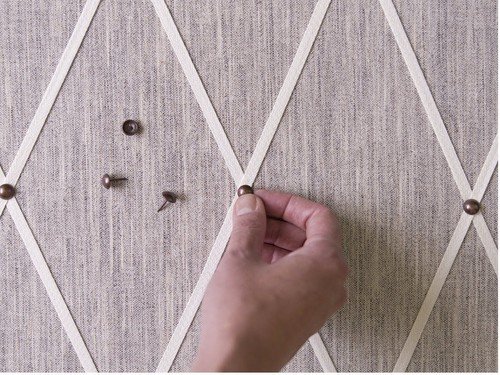
Materials:
- Corkboard (or foam board), cut to fit
- Fabric
- Ribbon
- Staple gun
- Upholstery tacks
Steps:
- Measure up your allocated space (I find too skinny a pinboard makes it hard to really use) and have a piece of corkboard (or foam board) cut to fit your space.
- Choose your fabric. I find a plain fabric is better than a print fabric as the print becomes a visual mess once other things like invites, tear sheets, cards, etc. are placed on top of it.
- Get a staple gun and secure fabric to board. I use the North – South – East – West technique of starting at a north point with a staple, then to south, then east and west in a clockwise action until all fabric is down. This makes it easier to get keep all fabric tight and at a good tension. The last thing you want is any baggy areas.
- Add your ribbon. Using your choice of embellishment (think grosgrain, hat elastic, printed ribbon, thick jute) secure it to the longest distance from the top left hand corner to the bottom right. Then, move up and down in a pre-decided measured amount until all rows are secure. Then, make the cross rows using lengths covering the opposite side until you achieve the criss-cross effect. I then use upholstery tacks (available in white, nickel, black or copper heads) to pin down into each cross over point.
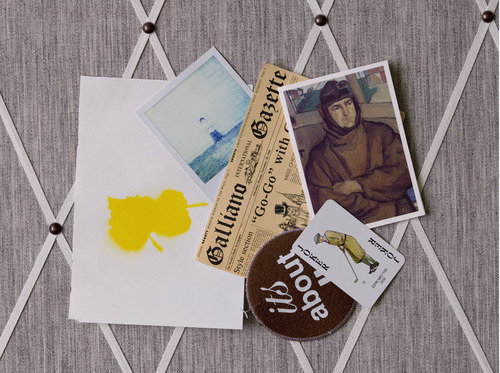
- Decorate with inspirations. Now the fun part! Use your favourite coasters, tear sheets, cards, invitations, photo booth photos and all other memory-making images to dress your pinboard. Change as often as you like.
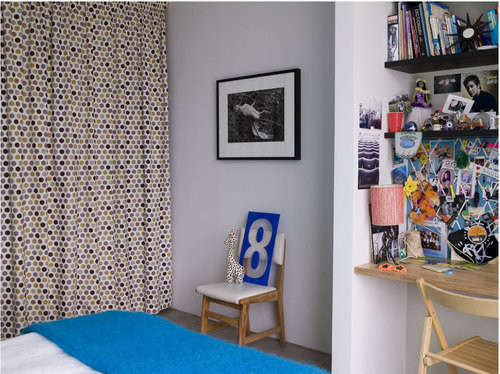
I have a couple pinboards that are reserved for clients jobs, so I can see their projects at a glance. I post up pictures of furniture, spec sheets, paint chips and one look at it gets me so excited about the task at hand. My daughter has a beautiful pinboard with all her school certificates, notes from friends, and photographs attached. A client I know has a pinboard in her kitchen with all her favourite recipes cut out as a reminder to cook them all!
Thanks, Megan. These pinboards are so simple and fun.
Where could you use a pinboard for organization or inspiration in your home?
Images via Megan Morton

